Believe it or not, there is an easy way to cut down high tree branches (we’re talking 30 feet plus) without training to be an acrobat, buying climbing equipment or paying a professional hundreds of dollars.
For many of us, that high tree branch is obstructing an otherwise beautiful view, adding wear and tear to our roof shingles or is simply dead and unsightly.
Whatever the reason, that tree branch has got to go! So let’s get to work…
What You’ll Need
Direct links to the products on Amazon are included. Total cost is about $35 – $40. Most folks will already have everything they need, except the pocket chainsaw. In that case, you’ll only need to invest $20.
- Pocket Chainsaw
- Rope (100ft.)
- Gloves
- A 1.25 or 2.5 pound weight
If you don’t have a plate weight, any object weighing around 1 lb. that you can tie the rope around or through will work.
Time Commitment
This happens a lot quicker than you might think. Once you get the hang of it, you’ll be taking branches down in 5 to 10 minutes.
Of course, cutting up and disposing of the branches will take additional time.
How to Cut High Branches From the Ground
Step 1 – Cut the Rope
Cut your 100 foot length of rope in half to create two 50 foot pieces.
The easiest way to do this is to tie both ends of the rope to an object, then stretch the rope all the way out to find the center point. From there, just cut it with a knife or blade of some kind.
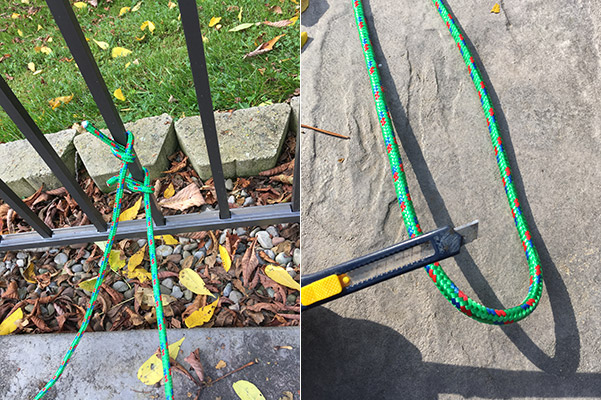
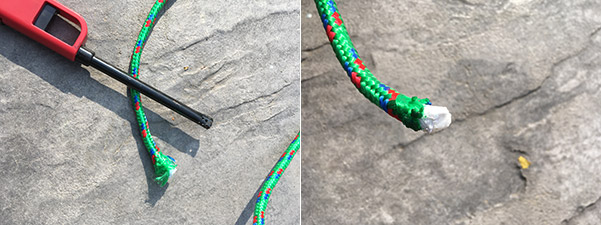
For extra credit, you can use a lighter to burn the end of the rope so it doesn’t fray any further.
Step 2 – Warm Up Your Shoulder
This is where that very light weight comes in that I mentioned in the beginning.
Tie the rope to the weight and throw it up over the tree branch you are trying to take down. You want to try to get as close to the trunk of the tree as possible.
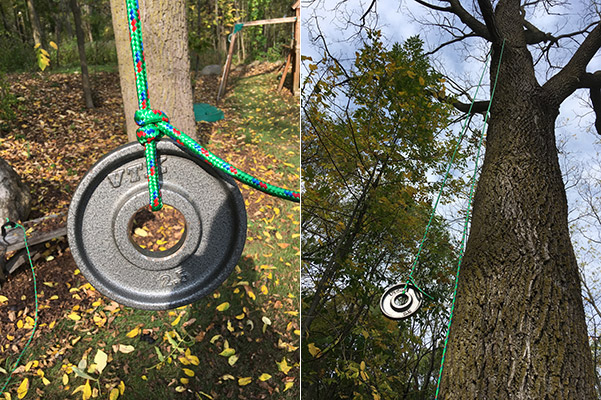
Personally, I found this difficult with anything above 25 feet high. Believe it or not, the weight of the rope itself actually hindered the throw a bit.
For anything above 25 feet, I usually start with kite string and a small rock. Once you throw the kite string over the branch, you can tie the rope to the string and pull the rope over.
With extreme heights, you can try using a slingshot, or bow and arrow if you have that kind of skill (I do not).
Step 3 – Attaching the rope to the pocket chainsaw
Once you have one of your ropes hanging over the tree branch, it’s time to tie one end to your pocket chainsaw.
At this point, you’ll also tie the other rope (that is not hanging from the tree) to the other end of your pocket chainsaw.
Now, continue to pull the rope until the chain is sitting firmly on top of the branch you are cutting.
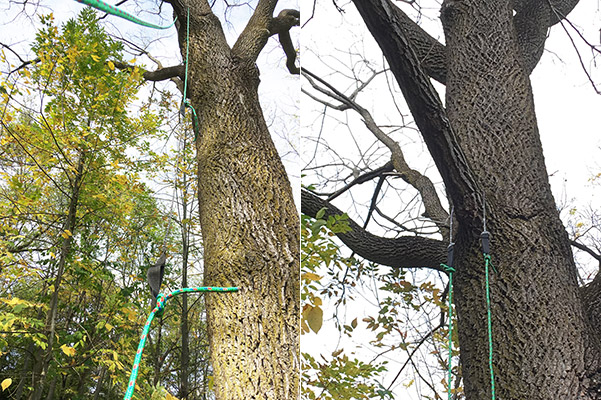
If you’re lucky, the teeth of the chain will be facing down on top of the branch. Otherwise, you’ll have to pull the chain back down a bit, then real it up again trying to make sure the teeth are facing down. This may take a few tries!
Step 4 – Start Sawing!
This is actually the easiest part. It just takes just a little bit of shoulder muscle.
Put on your gloves and start pulling the ropes back and forth at a consistent speed.
Do not exert any downward force on the ropes by pulling hard while you saw. Let the teeth on the chain do the work.
When you hear the branch start to crack, get ready to run!
If the branch did not come down cleanly, chances are that the chain is still hanging from the tree, and you can continue to saw the branch off until the cut is clean.

Congratulations, you just did something that you may have never thought possible without hiring a pro!

use a baseball sized sandbag instead of a hard metal plate. less potential damage if your aim sucks
Good thought!
I choose a weight because it was easy to tie a rope to, and didn’t have a sandbag.
sandwich bag + dirt + kite string.
its cheaper than an Arborists Throw weight.